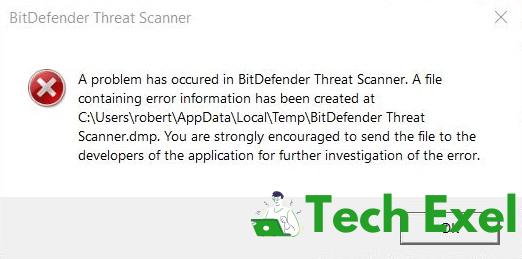
A problem has occurred in BitDefender threat scanner is a common error that appears in the window screen when using the Spybot folder. It’s an irritating error that says:
A problem has occurred in the BitDefender Threat Scanner. A file containing error information has been created at C:\Windows\TEMP\BitDefender Threat Scanner.dmp. You are strongly encouraged to send the file to the developers of the application for further investigation of the error.
Because of the corrupted .dll file in Spybot, the bug will evolve; it’s the major reason behind the error message. Moreover, the pop up will left, then the system restart. Further, we have provided some simple methods to get rid of that.
Contents
How to Fix A Problem Has Occurred in BitDefender Threat Scanner Error
Solution 1 ⇒ Run the PATCH
First, select the run to fix the patch. It’s a well-known fault, BitDefender has a patch to fix it.
Step 1 ⇒ Find the version of your OS. Then, Enter Win + R keys to open the Run box. After that type winver and press Enter.
Step 2 ⇒ Download and run the fixed patch consisting of your Operating System architecture.
Step 3 ⇒ If you have 32 bit operating systems, you can run this patch or suppose you have 64 bit operating systems, you can run this patch.
Solution 2 ⇒ Repair the Corrupted Files
Along with that, one more solution also will be there to solve A problem has occurred in the BitDefender threat scanner issue. The steps are given below;
Step 1 ⇒ Select the Start button and open your File, Explorer. Then, For windows 7, select the start (This PC) or (My Computer).
Step 2 ⇒ First, type C:\Program Files (x86)\Spybot – Search & Destroy 2 in the address bar, present on the top of the display screen.
Step 3 ⇒ Go to the file named SDAV.dll. Unfortunately, if the file will not find, then go here and download the file from there.
Step 4 ⇒ After the download will complete. Trace the downloaded file. Then, Right-click the DLL file and click copy.
Step 5 ⇒ Go back to the Spybot – Search and Destroy 2 folder, also repeating Step2 and right-click this folder to select Paste.
Step 6 ⇒ If this DLL file is already present, you need to check the size of the file by right-clicking it and selecting the properties.
Step 7 ⇒ Check if the size is not 32kb, you can go here and download the 32kb DLL file.
Step 8 ⇒ Then, repeat the Step 3 and Step 4. But after you click to paste, select replace the existed SDAV.dll file in the destination. Fix the corrupted files. See if you still encounter the BitDefender threat scanner.
Solution 3 ⇒ Remove and Reinstall
Some people will complain that they get rid of the BitDefender threat scanner on shutdown by merely reinstalling the tool. Follow the steps given below;
Step 1: Go here, and download the trial BitDefender Removal Tool.
Step 2: Run the application, which will help you to remove BitDefender.
Step 3: Now, Re-download BitDefender and install a fresh copy.
Re-install Spybot-Search and Destroy:
In addition to this, one more process will present to clear the bug. Re-install the app itself by the upcoming steps given below:
Step 1: Click the Control panel ⇒ Program ⇒ Program & Features. Locate ‘Spybot-Search &Destroy.’
Step 2: Right-click the start menu and select Apps & Features from the list of items.
Step 3: Go to the BitDefender app on the right panel and double-click it to click on Uninstall. Then, follow the prompts to uninstall the tool completely.
Step 4: Then visit the official website and re-download BitDefender. Then install it.
Recommendation:
- YouTube Videos Black Screen
- Charger Plugged in But Not Charging
- Res://aaResources.dll/104
- WOW51900319
Conclusion
Finally, you can check if the A problem has occurred in BitDefender threat scanner error still appears. Once you did all those steps, it will not come and disturb you. People can continue to work and be calm. The corrupted file of Spybot is responsible for the BitDefender threat scanner since one if its DLL files get corrupted. Here, we come to know how to get rid of the file now quickly with simple steps.
