When you run your system after installing Windows 10 for the first time, you would be asked to create an account. For using the Windows 10 OS on your device, you need to authenticate yourself by creating an account. There are two methods to create an account on Windows 10. One is a Microsoft Account, and another is a Local Account.
On Windows 10 systems, you get the option to create multiple user accounts and assign different privileges as per the user and usage. For example, you can create an account for your children and restrict some apps and websites under their account settings. Similarly, if more than one user uses your system, you can restrain others from installing or uninstalling programs on the system and manage other essential settings.
By managing the user accounts, you can also assign the administrative privileges to other accounts so that the admin errors like “This app has been blocked by your system administrator” can be solved.
In this Windows 10 guide, we would know how to create and manage the user accounts and assign privileges in Windows 10 OS.
Contents
How to View Account Details on Windows 10?
If you want to know the details about all of your current Windows 10 accounts and to make changes to them, follow these steps:
- Go to Windows Settings and select Accounts.
- From the left pane, click on Your info.
- Confirm your account’s details, such as whether it is local or Microsoft, whether you have Administrative privileges or not. If you see an email address in the details, that means it is a Microsoft account, and you will have the option to manage it.
- You can manage your Billing info, family settings, security settings, and more by clicking on Manage my Microsoft account.
How to Switch my Microsoft Account to a Local Account?
If you want to switch your Microsoft account to the Local account or vice versa, follow these steps:
- Navigate to Your info setting page by following the first two steps of the previous section.
- Now, click on Sign-in with a local account instead.
- On the next window, click on Next to verify your identity.
- Follow the on-screen instructions and enter the code to verify yourself.
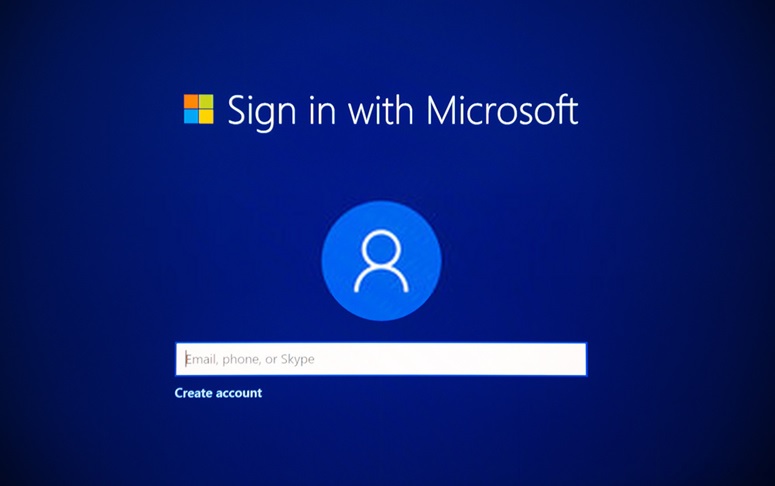
- If you are switching from a Local account to a Microsoft account, you will be asked to log in with your Microsoft account credentials.
How to Change Your Account Picture in Windows 10?
You can easily change the picture on your Windows 10 account. Here are the steps for that:
- Navigate to Your info setting page by following the first two steps of the previous section.
- Under the Create your picture, either take a photo from your camera or browse for one from your device.
How to Add a New Family Account in Windows 10?
If you live with your family, you might want to add more accounts on Windows 10 for other members of your family. Here are the steps to add more accounts on your Windows 10 device:
- Go to Windows Settings and select Accounts.
- From the left pane, click on the Family & other users.
- To add a family member, click on Add a family member under Your family heading.
- On the next window, enter the email of the family member you want to add. Click Next.
- Follow the on-screen instructions and add the member to Windows 10.
How to Add Another Account on Windows 10?
If you share your Windows 10 device with your colleague or other people, you can create a separate account for them to protect your privacy. Here are the steps for adding another member to the Windows 10 device.
- Go to Windows Settings and select Accounts.
- From the left pane, click on the Family & other users.
- Scroll down and under other users, click on Add Someone else to this PC.
- You can either add another person through their email or phone number or click on I don’t have this person sign-in information to add that person locally.
- Click Next to continue and follow the on-screen instructions to finish the process.
Sign-in with the newly created account and verify that the Windows 10 user account creation is successful.
How to Change Account Privileges on Windows 10?
Sometimes you might want to change the privilege of an account on your Windows 10 device. For that, follow these steps:
- Go to Windows Settings and select Accounts.
- From the left pane, click on the Family & other users.
- Select any account for which you want to change privilege. It is applicable on family accounts and other accounts as well.
- Click on Change account type.
- Choose the privilege you want to provide this account, then click OK.
How to Remove An Account from Windows 10?
If you want to remove an account permanently from your Windows 10 device, follow these steps:
- Go to Windows Settings and select Accounts.
- From the left pane, click on the Family & other users.
- Select any account for which you want to delete. It is applicable on family accounts and other accounts as well.
- Click on Remove to delete the account from the system.
Bottom Line
The feature to manage the user accounts and privileges makes the Windows 10 operating system more flexible and user-friendly. You can add multiple users to a single system and synchronize them across devices through Microsoft Account. It also lets you use parental control to monitor your children’s activities.
